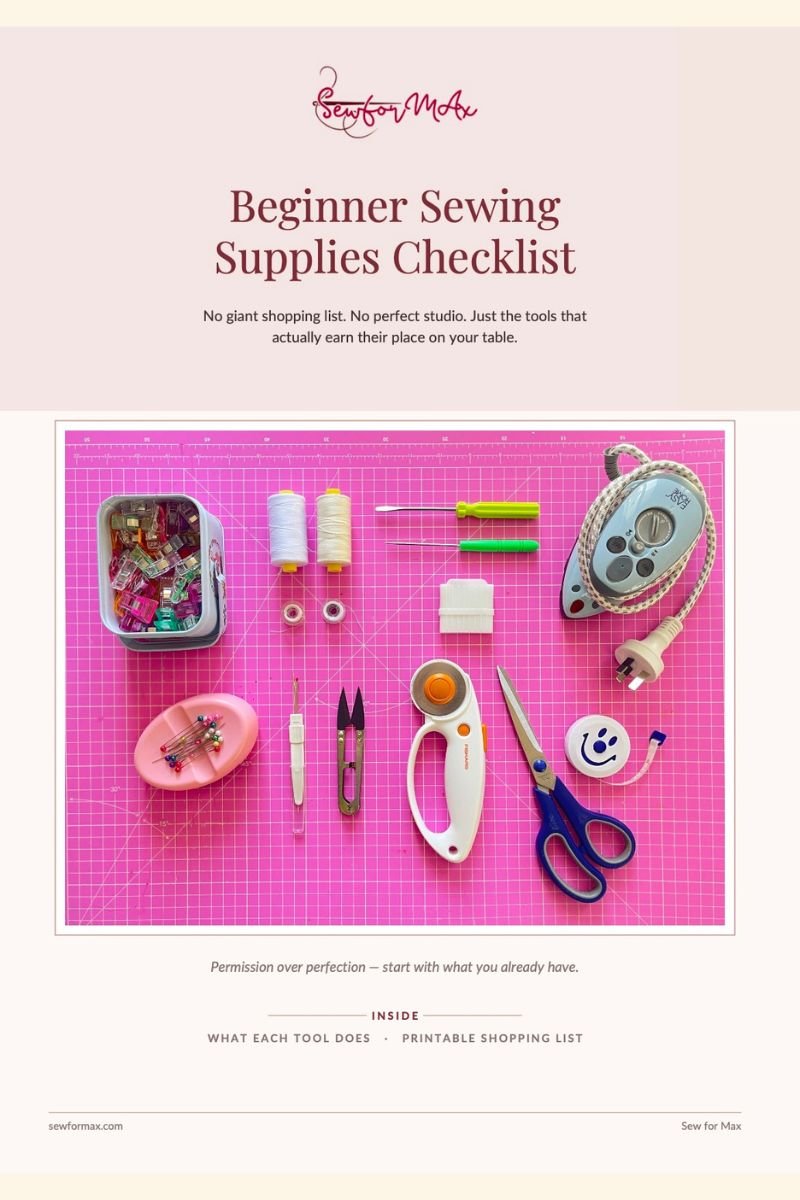
Beginner Sewing Supplies: What You Actually Need to Start Sewing
The honest, budget-first list — six things, no craft-store spiral.
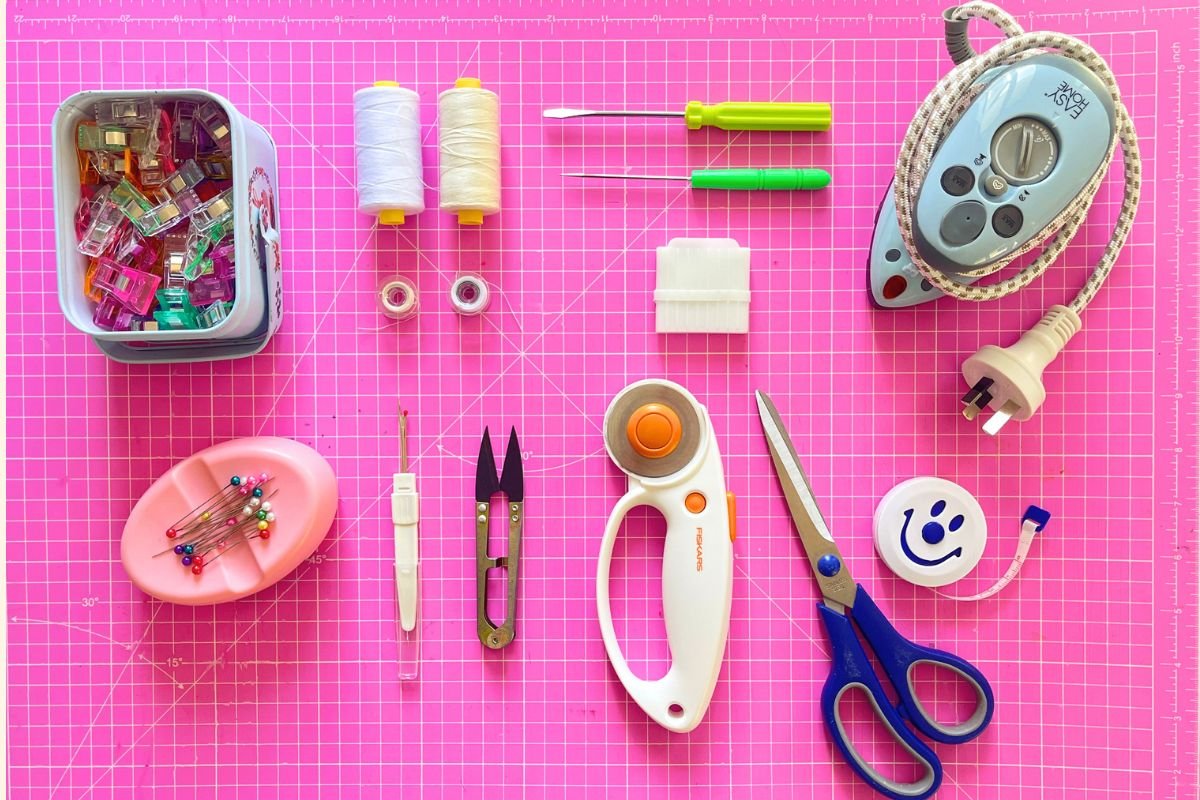
The first time I walked into a craft store to buy sewing supplies, I came out with a $40 basket and still couldn’t sew a straight line. Nobody had told me which bits actually mattered. Worse, half the tools I genuinely needed were already sitting in a drawer at home.
So let’s skip that part. Below is the list I’d give a friend who messaged me at 9pm asking, “what do I actually need to start?” — nothing padded, nothing you’ll use twice and shove in a cupboard.
Want this as a printable checklist?
Grab the free Beginner Sewing Checklist and take it to the shop with you — so you buy the six things that matter and skip the rest.
Thank you!
You have successfully joined our subscriber list.
No spam, ever. Unsubscribe anytime.
The Short List — Six Things You Actually Need
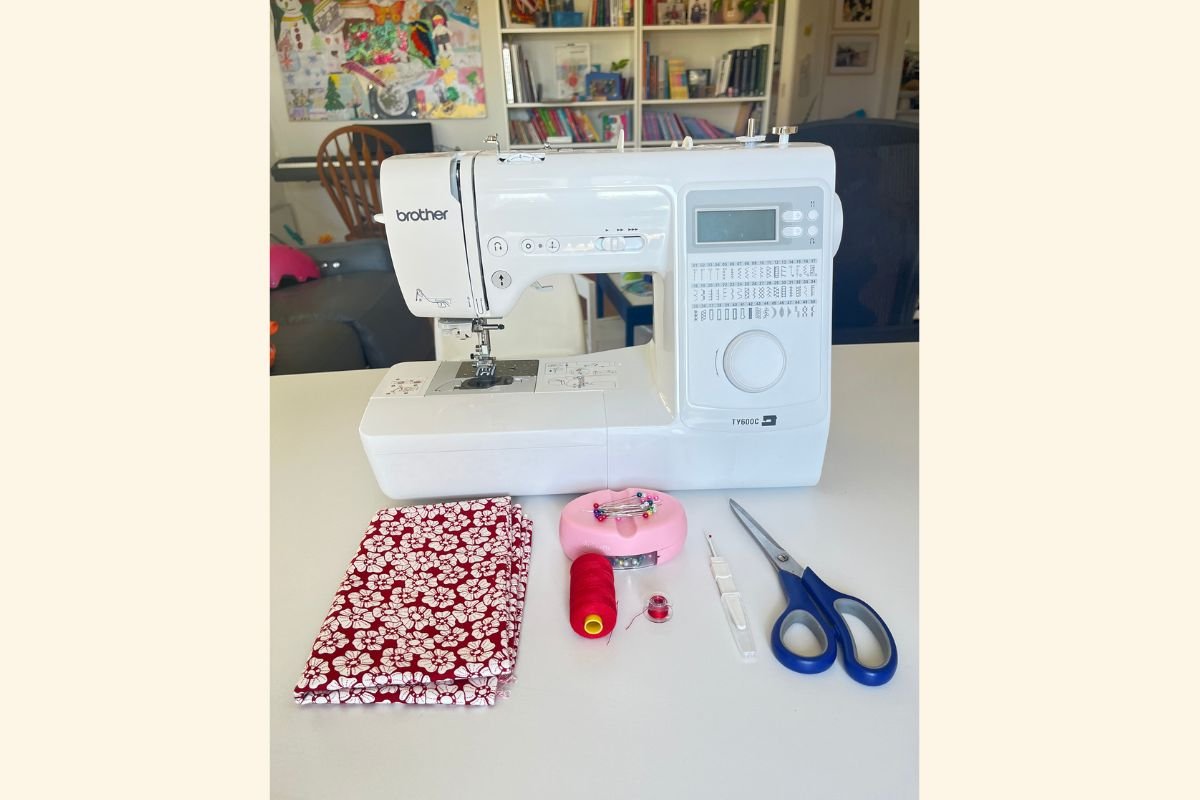
- A sewing machine. Second-hand is completely fine. A basic mechanical model that does a straight stitch and a zig-zag will carry you through your first year.
- Fabric scissors. One good pair, dedicated to fabric only. Hide them from the kids, and never let them near paper.
- Pins or clips. These hold your fabric layers together so your seams don’t shift while you sew.
- All-purpose polyester thread. Start with one spool in white, black, or grey. Cheap bargain-bin thread is linty, snaps constantly, and jams your machine.
- A seam ripper. Your new best friend, honestly. We all unpick — this little tool just makes it fast.
- An iron. You almost certainly own one already. Sewing is roughly 40% stitching and 60% pressing, so this matters more than beginners expect.
💡 Budget hack: Don’t buy fabric for practice. Instead, raid your wardrobe for old clothes, or pick up a vintage cotton sheet at your local op-shop for $5. You’ll get meters of fabric to make mistakes on — completely guilt-free.
What You Can Skip (For Now)
Craft stores are very good at making everything feel essential. However, none of the following are needed for your first few projects:
- A rotary cutter and mat — lovely later, unnecessary now
- An overlocker — a zig-zag stitch does the same job while you’re learning
- Pattern weights, tracing wheels, and chalk sets — tins and a pencil work fine
- Specialty presser feet — the standard foot handles almost everything
- A fabric stash — buy fabric per project, or your budget disappears fast
You can always add these once you know what you actually enjoy sewing.
What to Look For When You're Buying
The machine. Look for a straight stitch, a zig-zag, and adjustable stitch length. Also check that a manual exists online, since second-hand machines often arrive without one.
💡 If you’re buying new in Australia, watch the plug. Several imported models ship with UK/EU plugs and need an adapter — worth checking before you click buy.
The scissors. Weight tells you more than price does. Pick them up, open and close them a few times, and choose the pair that feels comfortable rather than the prettiest.
The thread. Polyester, all-purpose, from a known brand. Similarly, avoid multi-colour “value packs” — you’ll fight them the whole way.
The seam ripper. Any sharp one works. Many machines include one in the accessory box, so check there before you buy.
Your First Sewing Session — A Simple Setup
Getting set up takes about ten minutes. Here’s the order that works best:
- Clear a small table. You don’t need a sewing room — one end of the dining table is plenty.
- Set up near a power point and good light. Poor lighting causes more wonky seams than shaky hands do.
- Keep a small jar beside you for thread snippets. That way you’re not vacuuming after every session.
- Put the iron on the same table if you can. Otherwise you’ll skip pressing, and pressing is what makes beginner projects look finished.
- Start with paper, not fabric. Unthread the machine, grab lined paper, and sew along the lines to practise steering and speed. It costs nothing and builds real confidence.
Common Questions
- Pins or clips — which should I buy? Either works. Pins are cheaper and better for lightweight cotton; clips are easier with thick layers, laminated fabric, or when little hands are nearby. Start with pins, then add clips later if you want them.
- Do I really need dedicated fabric scissors? Yes — and this is the one place I’d spend a little. Paper blunts blades quickly, and blunt blades chew fabric instead of cutting it.
- Can I just use the thread that came with my machine? For paper practice, absolutely. For a real project, though, switch to a proper spool of polyester. Included threads are usually short samplers.
- Is a seam ripper genuinely necessary? It is. Unpicking with scissors risks cutting your fabric, whereas a seam ripper slides under the stitch and lifts it cleanly.
Make It Your Own
Every sewing space looks different, so build yours around your real life. Some mums keep everything in one tub that lives under the bed. Others leave the machine set up permanently, which removes the biggest barrier of all — setting up. Choose whichever version means you’ll actually sit down and sew.
You've Got Everything You Need 🎉
Look at your list again: a machine, scissors, pins, thread, a seam ripper, and the iron you already own. That’s a real starting point — not a shopping spree.
Ready for the first project? Start with a scrunchie. It takes about twenty minutes, uses barely a scrap of fabric, and gives you a finished thing you’ll actually wear — which is exactly the kind of small win that keeps beginners going.
Take the checklist with you.
The free Beginner Sewing Checklist lists every essential, what to skip, and what to look for when buying — printable, and small enough to fit in your bag.
Thank you!
You have successfully joined our subscriber list.
No spam, ever. Unsubscribe anytime.