How to Sew a Scrunchie (Free Beginner Pattern — 20 Minutes!)
A one-seam project made from a single fabric scrap and one nap time
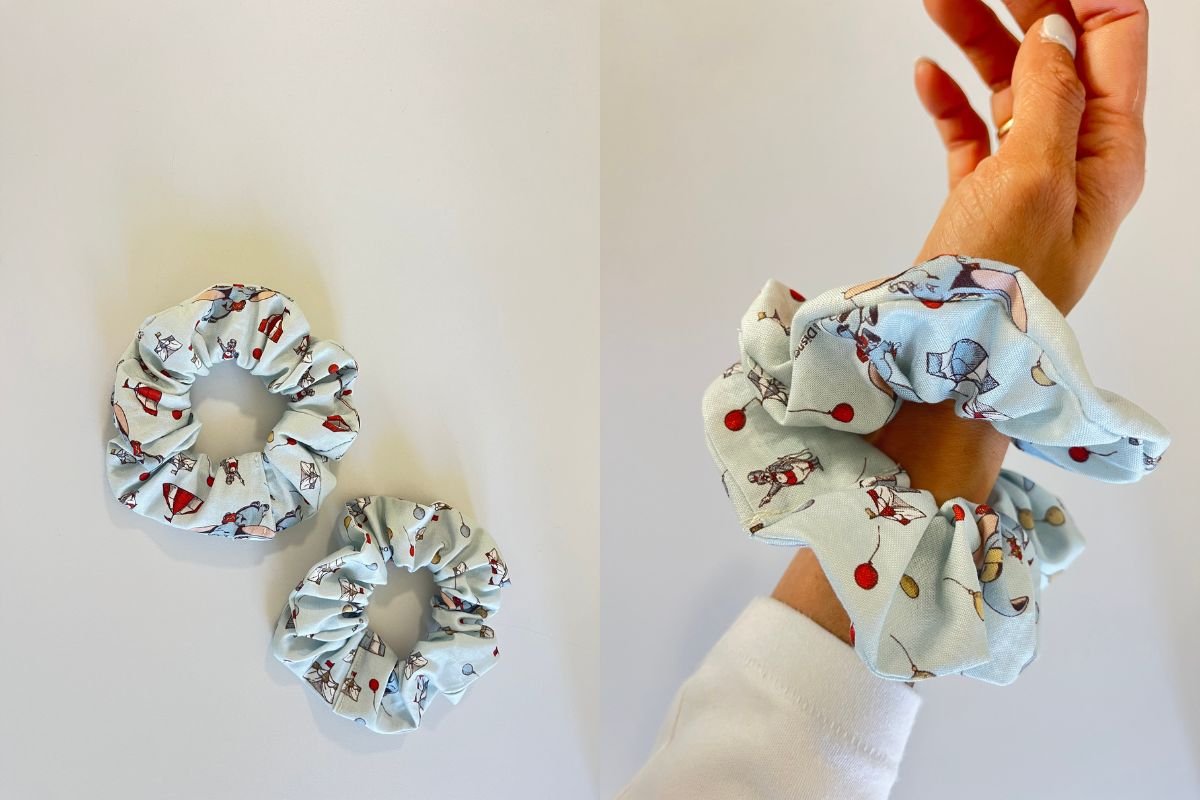
Confession: this is the project I hand to anyone who tells me they’re too intimidated to touch a sewing machine. One seam, one length of elastic, twenty minutes — and you’ve made something you’ll actually wear tomorrow.
If you’ve got a sewing machine sitting in its box and a stash of fabric scraps too small for anything else, this is exactly where to start. No pattern pieces to trace, no fear of “ruining” expensive fabric, and nothing here that can seriously go wrong.
Get More Tutorials Like This
Never miss a new pattern. Subscribe to the Sewformax newsletter and I’ll send you new beginner tutorials, Korean fabric finds, and sewing tips as soon as they’re live.
Join the SewforMax Newsletter
Get new tutorials, K-fabric finds, and sewing tips delivered straight to your inbox.
Check your inbox
I am so excited to have you in our Sew for Max Community!
No spam, ever. Unsubscribe anytime.
About The Fabric
Any lightweight cotton works beautifully here — quilting cotton, an old shirt, or a small scrap of Korean fabric too pretty to throw away and too small for anything bigger. This is genuinely the best use for those tiny offcuts sitting in your scrap drawer.
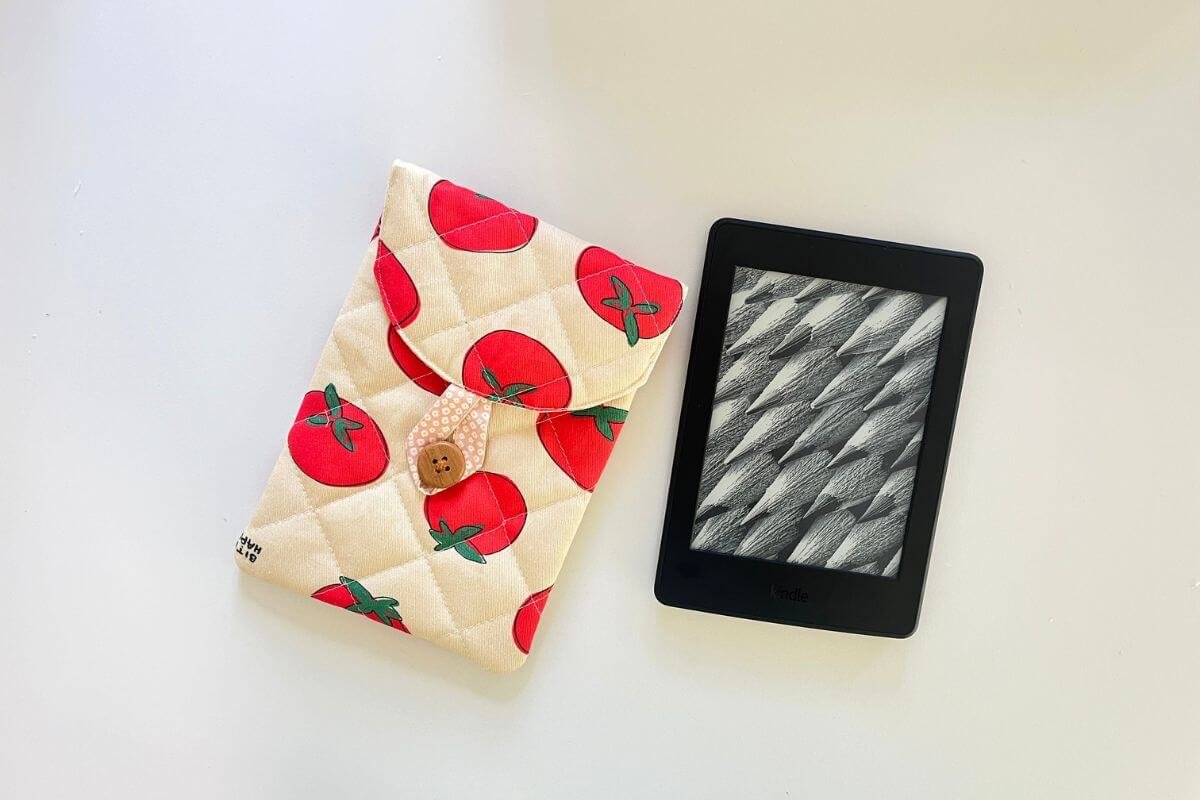
💡 Scrap tip: You only need a 4-inch by 22-inch strip, so this is the perfect project for the leftovers from a Kindle Sleeve, Tote Bag, or Card Holder. Nothing in this kit goes to waste.
What you'll need
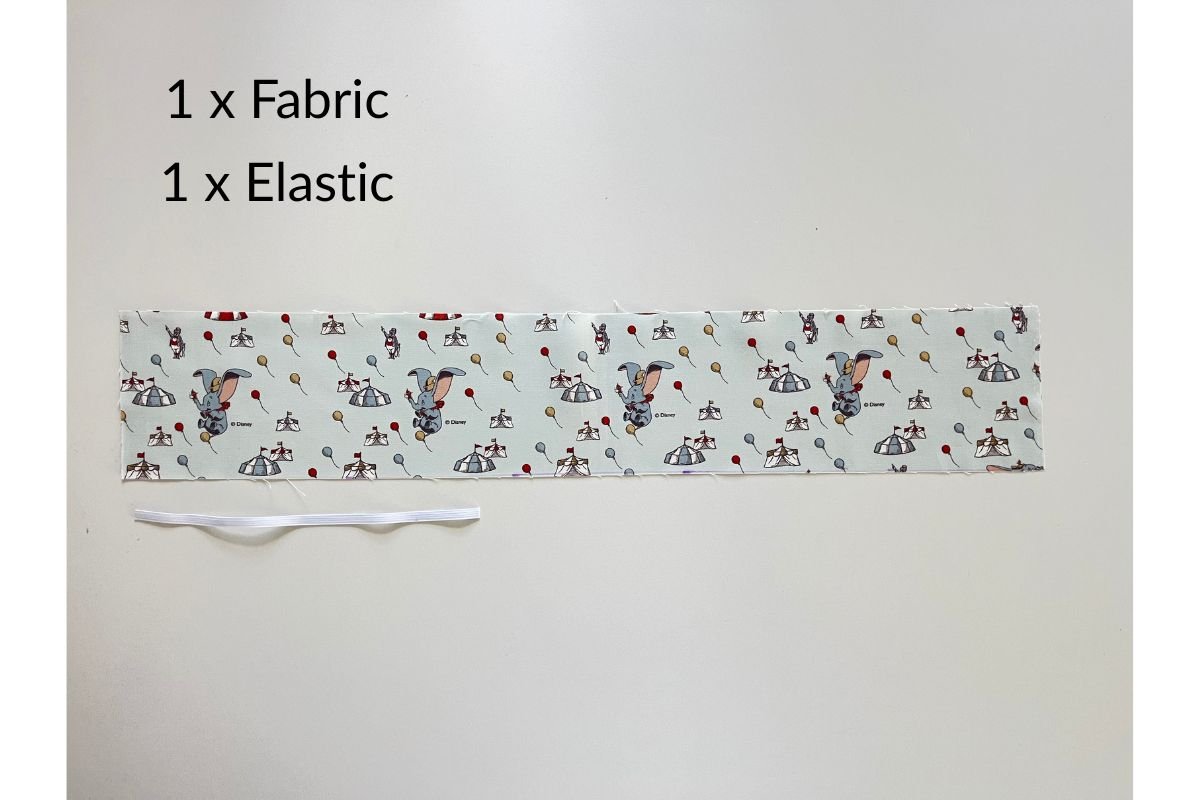
- Fabric scrap — lightweight cotton, even a small offcut works
- Elastic — about 8 inches of 1/4-inch elastic
- Matching thread
- A safety pin — for threading the elastic and turning the tube right side out
- Pins or sewing clips
- Scissors or rotary cutter
- Iron and ironing board
- Sewing machine
Not sure what tools you need? Start with the supplies list.
💡 Beginner tip: This is a wonderful first-ever project if you’ve never used your machine before. There’s no lining, no fiddly corners, and no way to get seriously stuck — just a straight seam and a little patience threading the elastic through.
Let's Get Started!
1/4″ seam allowance throughout
Step 1 — Cut Your Fabric and Elastic
Cut one fabric strip, 4 inches by 22 inches, and one length of elastic, 8 inches long. This makes one adult-sized scrunchie. Want it smaller for fine hair, or oversized and chunky? Cut the strip 3 inches wide for petite, or 5 inches wide for a statement style — the elastic length stays the same either way.
Step 2 — Sew the Tube
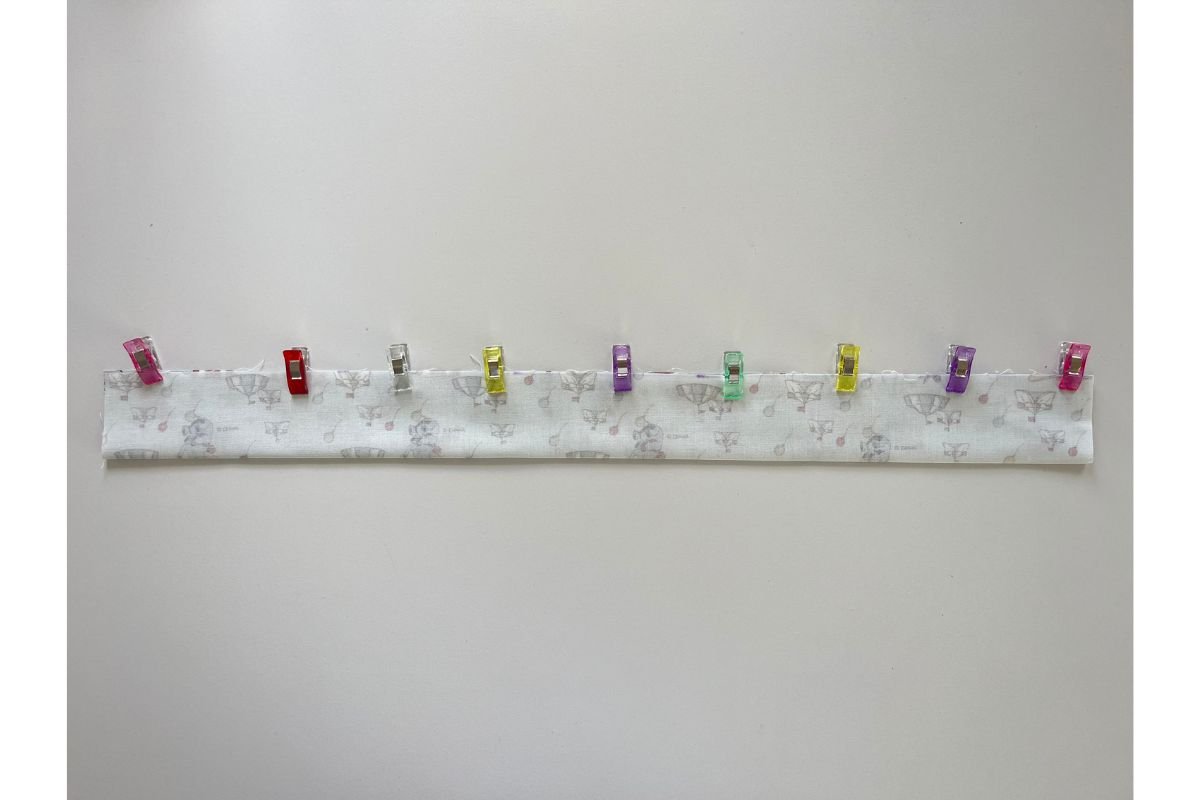
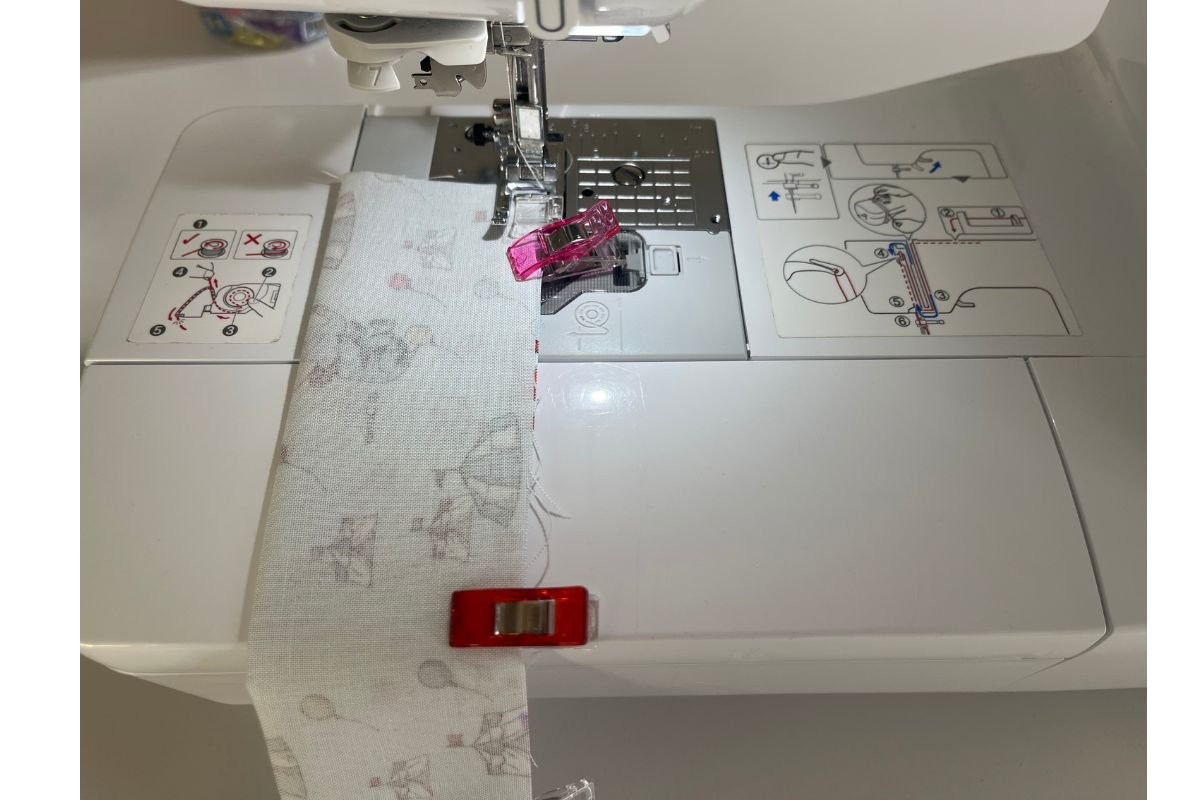
Fold the fabric strip in half lengthwise, right sides together, so the long raw edges meet. Pin or clip along that edge, then stitch with a 1/4-inch seam allowance from one short end to the other, leaving both short ends open. Backstitch at the start and end.
💡 Fabric tip: A softer, quilted fabric like nubim gives scrunchies a lovely padded feel against your hair — a genuinely nice use for a small nubim scrap.
Step 3 — Turn It Right Side Out
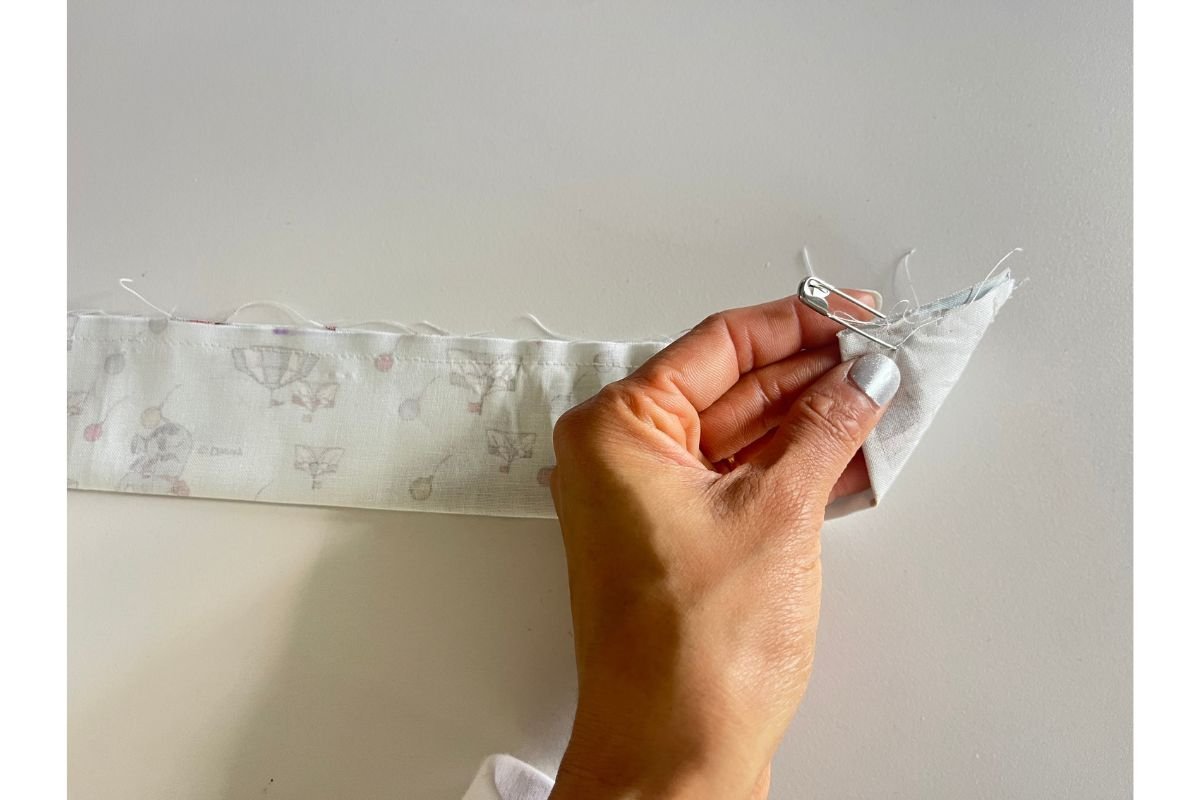
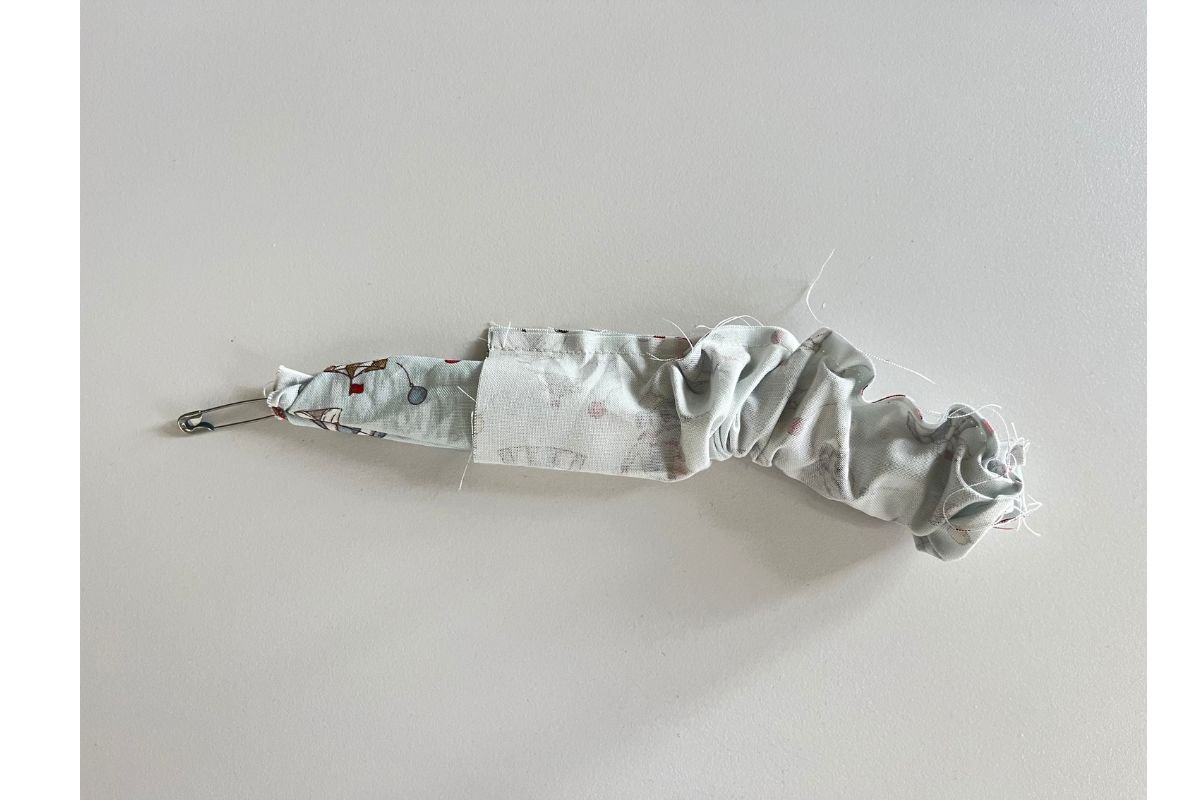
Attach a safety pin to one end of the tube and feed it through to the other end, gently easing the fabric right side out as you go. Go slowly here — let the pin do the work rather than pulling too hard. Press the tube flat once it’s through.
Step 4 — Thread the Elastic
Attach the safety pin to one end of your elastic and feed it all the way through the fabric tube, scrunching the fabric onto the elastic as you go. Leave both ends of the elastic sticking out of the tube so you have something to hold onto next.
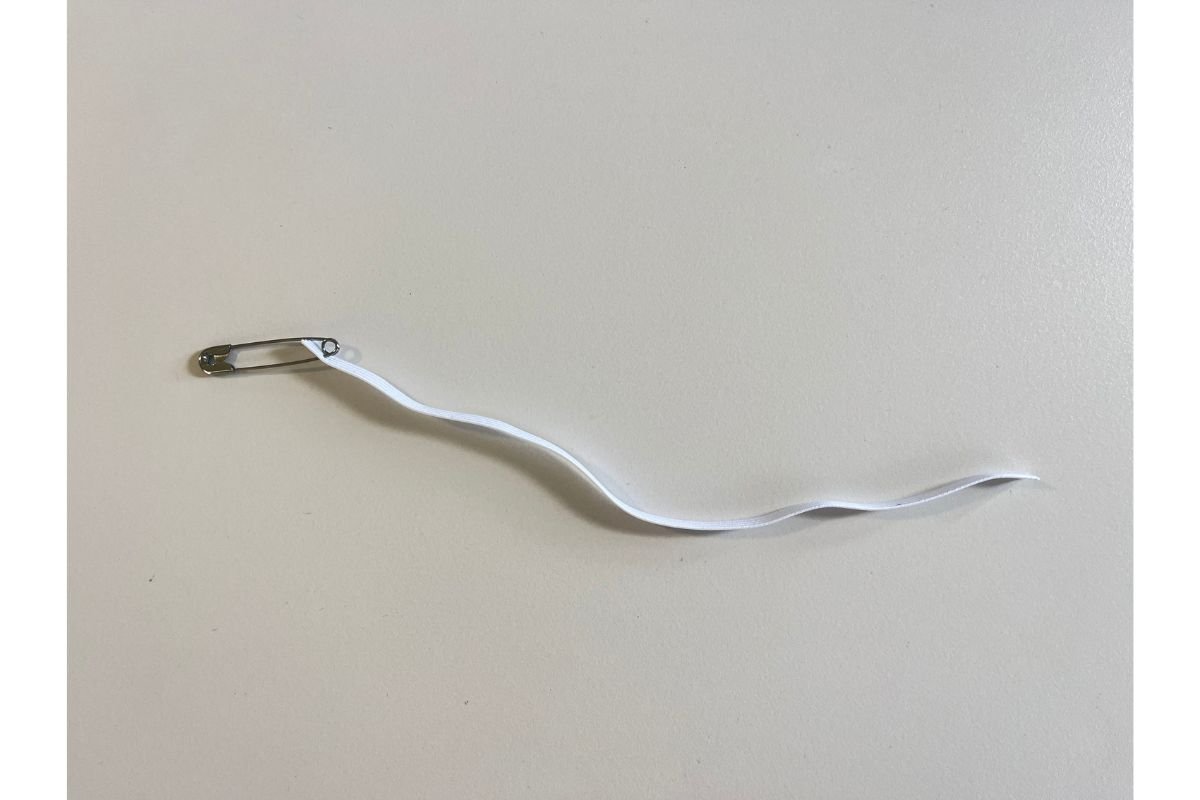
Step 5 — Join the Elastic
Overlap the two ends of elastic by about 1/2 inch and stitch them together securely — a small zigzag back and forth a few times holds well. This seam takes all the stretch, so don’t be shy with the stitching.
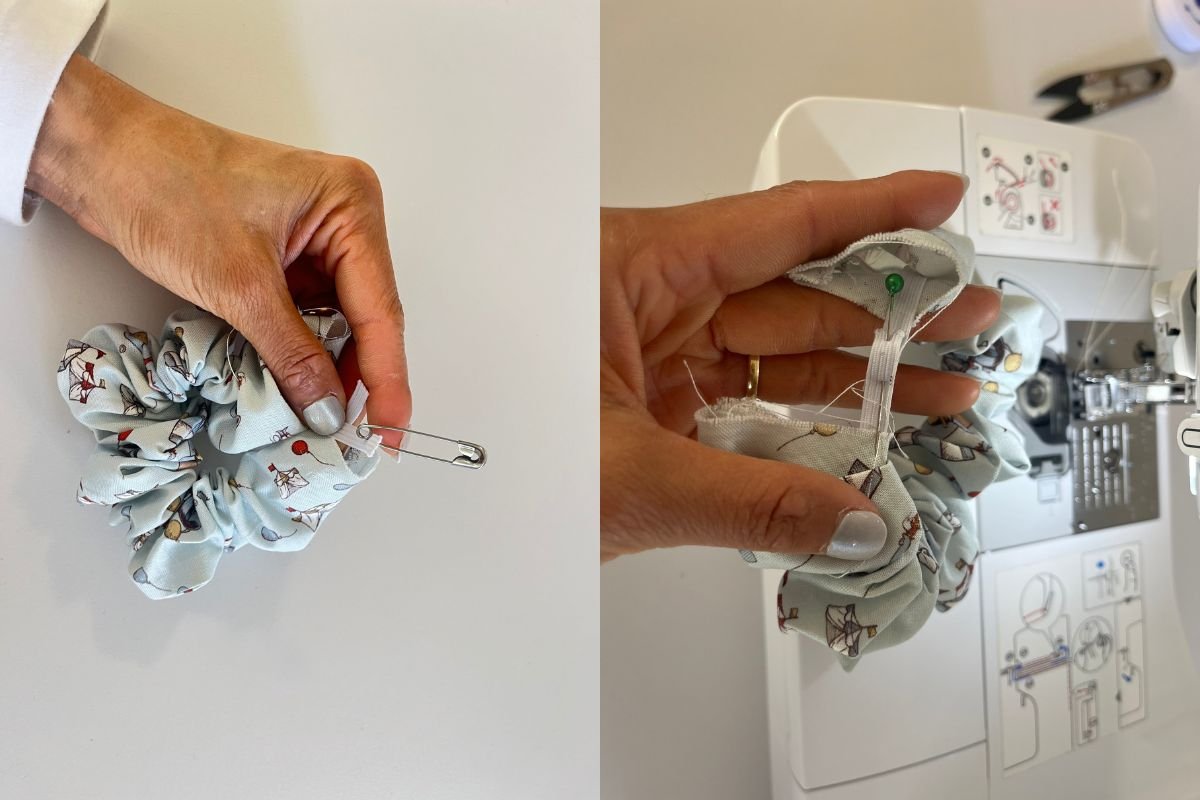
Step 6 — Close the Ends
Let the joined elastic disappear back inside the tube. Fold the raw fabric edge at one open end in by about 1/4 inch, then tuck that end inside the other, matching the folded edge over the raw one. Pin and stitch closed, sewing close to the folded edge.
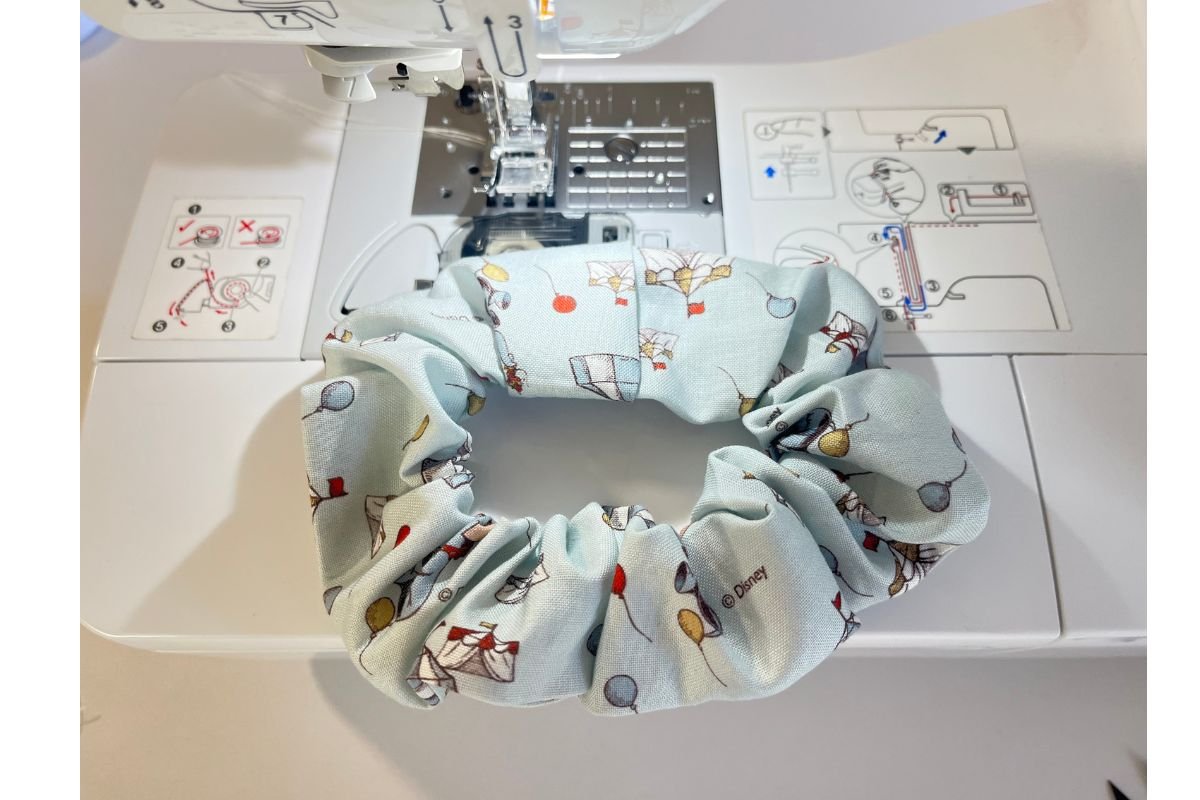
That’s it — you’re done! 🎉
[Photo: finished scrunchie, styled in hair or on the wrist]
Give it a good scrunch and pop it straight in. This is the fastest a beginner project goes from fabric to finished, and it never stops feeling satisfying.
Tips & Troubleshooting
The elastic keeps twisting inside the tube. A little twist is normal and won’t show once scrunched. Keep the elastic flat as you feed the pin through to minimise it.
My fabric tube is hard to turn right side out. Check your seam allowance isn’t too wide, and try a looser-weave fabric — it turns more easily than something stiff.
The closing seam looks a bit bulky. Completely normal — you’re sewing through several gathered layers. It disappears once it’s scrunched.
Make it Your Own
- Sew a handful in coordinating fabric prints and gift them as a set
- Use a wider 5-inch strip for a matching hair-bow hair clip
- Mix leftover scraps from your other projects for a genuinely zero-waste set
Get More Tutorials Like This
Loved this one? Subscribe to the Sewformax newsletter for new beginner tutorials, Korean fabric finds, and sewing tips — delivered straight to your inbox.
Join the SewforMax Newsletter
Get new tutorials, K-fabric finds, and sewing tips delivered straight to your inbox.
Check your inbox
I am so excited to have you in our Sew for Max Community!
No spam, ever. Unsubscribe anytime.